Guide Category
134-
DLE General Information 7
-
DLE Engine 8
-
DLE Administrations 35
- Welcome to Admin CP
- Add News
- Edit News
- System Configurations and Settings
- Antivirus
- Categories
- Maintenance
- Video player settings
- Custom Article Fields
- Questions and Answers
- Admin Profile
- Users Manager
- Custom Profile Fields
- User Group Manager
- Edit Templates
- Censored Words
- IP Based Access
- IP Utilities
- Find and Replace
- Rebuild Publications
- List of Complaints
- Performance Analysis
- Cross-refference
- Website Rules
- Static Pages
- MySQL Optimization
- Send Bulk Messages
- Poll Manager
- Image Manager
- Advertising
- Google Sitemap
- RSS Feed Manager
- RSS Informer Module
- Tag Clouds Manager
- Admin CP Action Logs and Monitors
-
DLE Templates 34
- engine.css
- addcomments.tpl
- addnews.tpl
- feedback.tpl
- frame.css
- fullstory.tpl
- info.tpl
- informer.tpl
- login.tpl
- lostpassword.tpl
- main.tpl
- navigation.tpl
- offline.tpl
- pm.tpl
- poll.tpl
- preview.css
- preview.tpl
- print.tpl
- profile_popup.tpl
- registration.tpl
- relatednews.tpl
- search.tpl
- searchresult.tpl
- shortstory.tpl
- speedbar.tpl
- splitnewsnavigation.tpl
- static.tpl
- static_print.tpl
- stats.tpl
- tagscloud.tpl
- topnews.tpl
- userinfo.tpl
- vote.tpl
- OpenSearch
-
DLE Extra 5
-
DLE Upgrade (Template) 39
- Upgrade Theme 10.4 to 10.5
- Upgrade Theme 10.3 to 10.4
- Upgrade Theme 10.2 to 10.4
- Upgrade Theme 10.2 to 10.3
- Upgrade Theme 10.1 to 10.3
- Upgrade Theme 10.0 to 10.3
- Upgrade Theme 10.0 to 10.2
- Upgrade Theme 10.1 to 10.2
- Upgrade Theme 10.0 to 10.1
- Upgrade theme 9.8 to 10.0
- Upgrade theme 9.7 to 10.0
- Upgrade theme 9.7 to 9.8
- Upgrade theme 9.6 to 10.0
- Upgrade theme 9.6 to 9.8
- Upgrade Theme 9.6 to 9.7
- Upgrade theme 9.5 to 10.0
- Upgrade theme 9.5 to 9.8
- Upgrade Theme 9.5 to 9.7
- Upgrade Theme 9.5 to 9.6
- Upgrade theme 9.4 to 10.0
- Upgrade theme 9.4 to 9.8
- Upgrade Theme 9.4 to 9.7
- Upgrade Theme 9.4 to 9.6
- Upgrade theme 9.4 to 9.5
- Upgrade theme 9.3 to 10.0
- Upgrade theme 9.3 to 9.8
- Upgrade Theme 9.3 to 9.7
- Upgrade Theme 9.3 to 9.6
- Upgrade Theme 9.3 to 9.5
- Upgrade theme 9.3 to 9.4
- Upgrade theme 9.2 to 10.0
- Upgrade theme 9.2 to 9.8
- Upgrade Theme 9.2 to 9.7
- Upgrade Theme 9.2 to 9.6
- Upgrade Theme 9.2 to 9.5
- Upgrade Theme 9.2 to 9.4
- Upgrade Theme 9.2 to 9.3
- Upgrade Theme 9.0 to 9.2
- Upgrade Theme 8.5 to 9.0
-
Bullet Energy Forum 6
-
Bullet Energy Template 0
Install Datalife Engine
Before you install the Datalife Engine, make sure that your servers have the System Requirements and recommendations, so if your servers don't meet the requirements and settings then your website will not run or function properly. First, upload all files from the archive to your server at root directory (This can be done using any FTP Client software like FileZilla etc..Set the files and folders CHMOD (writable file permission), Run the script installation by point your web browser to http://website.com/install.php, Follow the instructions on installation pages until finish the installation. Remove "install.php" to prevent the repeat or overwrite the script installation. The automatic installer will check all the necessary files and configures the connection to the database. After installation is complete, you can see the script on the demo page http://website.com/index.php. To access the administration Control Panel, you must run http://website.com/admin.php
dlestarter
Before you install the Datalife Engine, make sure that your servers have the System Requirements and recommendations, so if your servers don't meet the requirements and settings then your website will not run or function properly.
- First, upload all files from the archive to your server at root directory (This can be done using any FTP Client software like FileZilla etc...
- Set the files and folders CHMOD (writable file permission)
- Folder: "templates" and all "sub-folders" to 777 (CHMOD 777)
- All Files in the "templates sub-folders" to 666 (CHMOD 666)
- Folder: "backup" to 777
- Folder: "uploads" to 777
- Folder: "uploads/files" to 777
- Folder: "uploads/fotos" to 777
- Folder: "uploads/posts" to 777
- Folder: "uploads/posts/thumbs" to 777
- Folder: "uploads/thumbs" to 777
- Folder: "engine/data" to 777
- Folder: "engine/cache" to 777
- Folder: "engine/cache/system" to 777
- Run the script installation by point your web browser to http://website.com/install.php
- Follow the instructions on installation pages until finish the installation.
- Remove "install.php" to prevent the repeat or overwrite the script installation
- Set file chmod for the following htaccess to 444
- /templates/.htaccess
- /uploads/.htaccess
- /uploads/files/.htaccess
- /engine/data/.htaccess
- /engine/cache/.htaccess
- /engine/cache/system/.htaccess
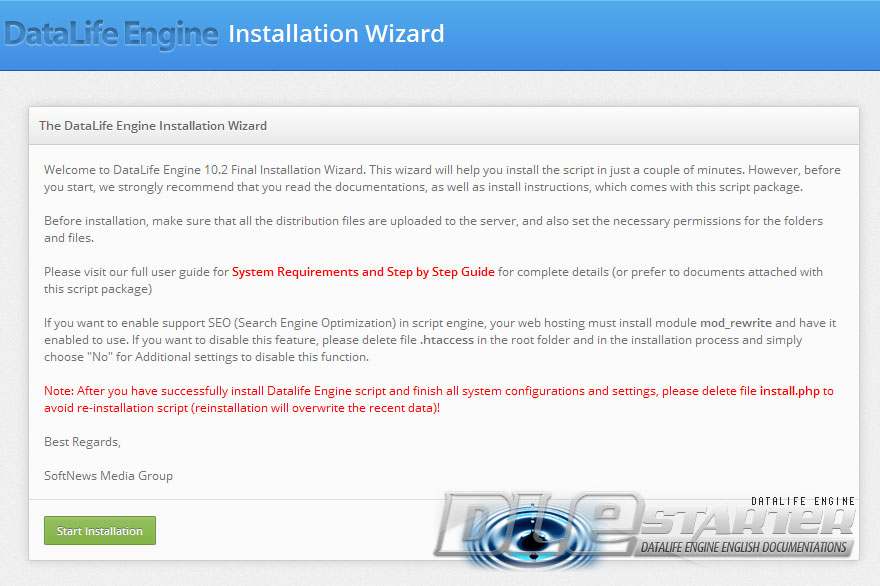
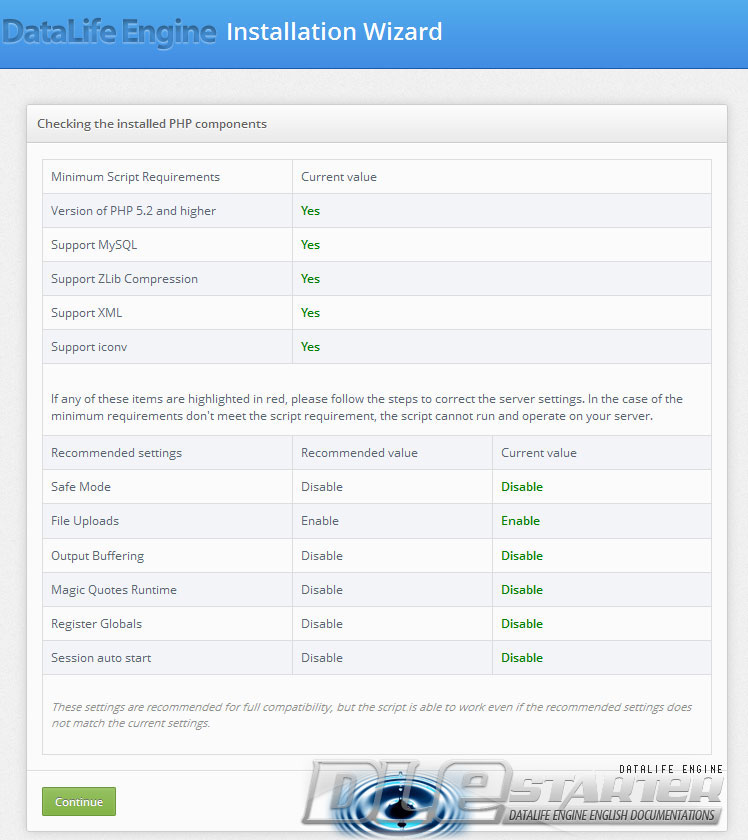
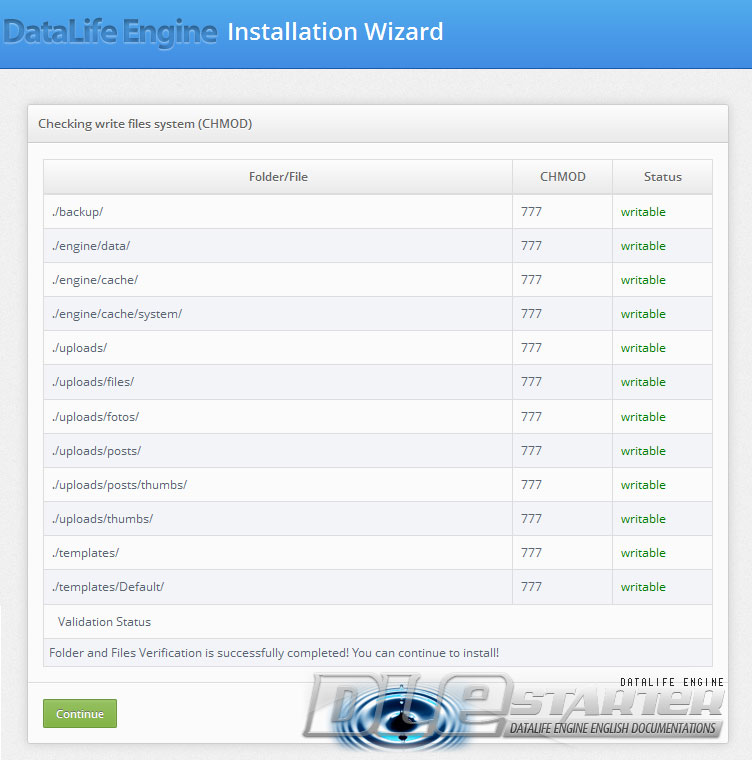
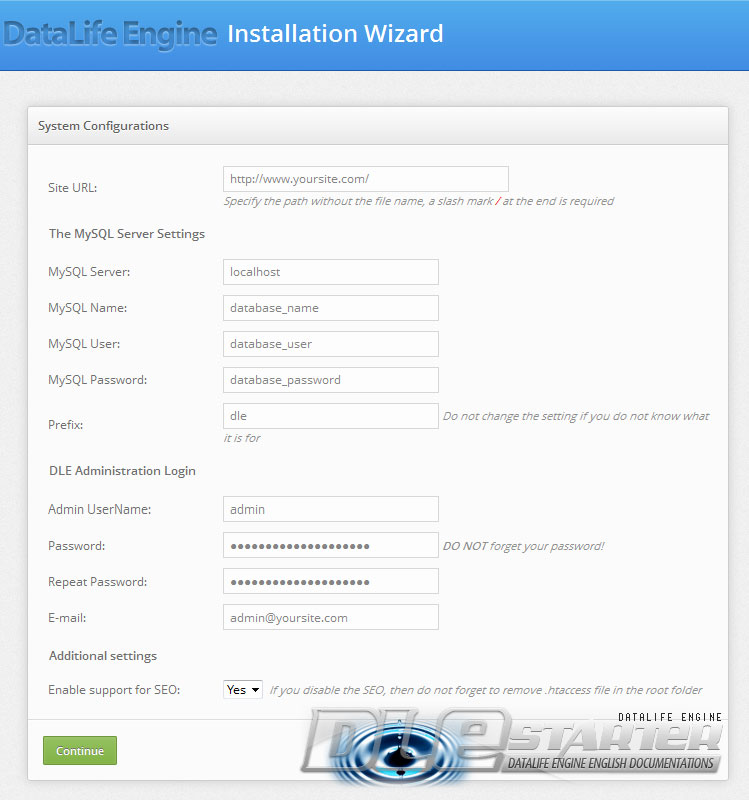
Installation Screenshots (10.2) (for older version please see below!)
Installation Screenshots (10.1 and older)
The automatic installer will check all the necessary files and configures the connection to the database. After installation is complete, you can see the script on the demo page http://website.com/index.php. To access the administration Control Panel, you must run http://website.com/admin.php
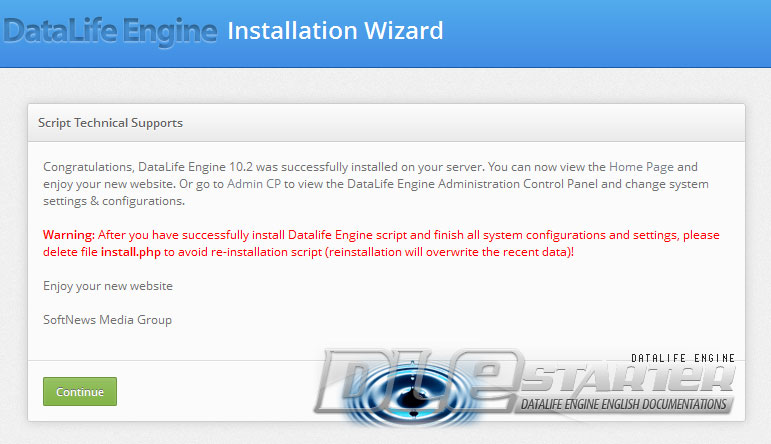
NOTE: After successfully installed the Datalife Engine you must delete the file "install.php" from the server to prevent re-install which will overwrite the existing installed data.
Starting in DLE 9.5, the following htaccess files are required to set CHMOD (file permission) from 644 to 444
- /templates/.htaccess
- /uploads/.htaccess
- /uploads/files/.htaccess
- /engine/data/.htaccess
- /engine/cache/.htaccess
- /engine/cache/system/.htaccess

